Trick or treat! Halloween is almost here, and that means it’s time to turn ordinary pumpkins into wonderfully spooky jack-o-lanterns. Not sure where to begin? No problem! We’ve put together a step-by-step guide full of useful tips and instructions on how to carve a Halloween pumpkin.
Step-by-Step Guide to Carving Pumpkins:
- Pick your pumpkin
- Carve out a lid
- Prepare your pumpkin
- Choose a design
- Start carving
- Put your pumpkin on display
1. Pick your pumpkin
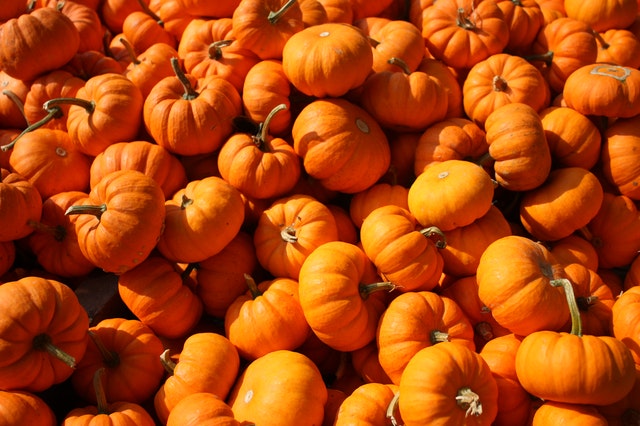
First, you want to choose your pumpkin. A week or so before Halloween is the ideal time to do so—any earlier and your pumpkin might start to rot before the big night. Whether you buy your pumpkin from a pumpkin patch or the supermarket, medium-sized pumpkins are easiest for carving, and you’ll want to look for one that’s fresh and without bruising. You’ll also want to look for a sturdy stem and a flat bottom so your jack-o-lantern won’t go rolling away!
2. Carve out a lid

This one requires an adult! Use a sharp, serrated knife to cut off the top or bottom of your pumpkin. While it’s the more traditional choice to go for the top, some pumpkin carvers say that cutting a lid from the bottom of the pumpkin instead helps prevent the sides from caving in.
If you do cut from the top, be sure to carve at an angle to prevent the lid from falling inside the pumpkin when you put it back on. Whichever way you decide to do it, set the cut-out lid piece aside for now—you’ll need it again later.
3. Prepare your pumpkin
Next, using a large spoon or ice cream scoop, you’ll need to scoop out all the seeds, pumpkin fibres, and approximately 3 cm of flesh from the inner walls.
You can throw these bits in the bin, or you can make creative culinary use of them! For instance, you can roast the seeds with some salt and seasonings for a yummy snack, or you can make a delicious autumn soup with the flesh. Search the web for loads of fun pumpkin recipes, and enjoy!
4. Choose a design

Now, you’ll want to start thinking about your jack-o-lantern’s design. Search online for plenty of jack-o-lantern patterns and inspiration, or come up with something totally original.
Once you’ve selected your spooky (or not spooky) design, there are two main approaches: you can use a marker pen to draw the outline of your shape directly on the pumpkin, or you can draw (or print) your design to size on paper first and tape it to the front of your pumpkin. To make things really easy, you could even look out for an all-in-one pumpkin carving kit with pre-made designs. These are often available in supermarkets around Halloween.
5. Start carving

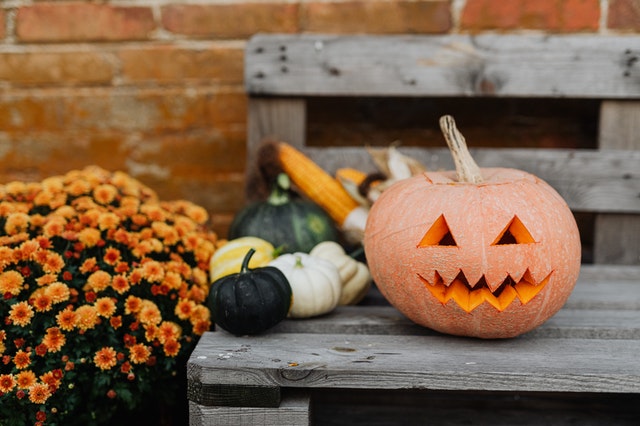
Once again, this one requires an adult. When your design is all ready to go, use a small serrated knife to cut it out. As a word of caution, make sure to always cut away from you in case the knife slips. Start with the bigger pieces and lines and then move into the detail work at the end. Now that’s a gorgeous gourd!
6. Put your pumpkin on display

Your pumpkin is finally ready for its debut! Pop a tea light inside, light it and put the top back on—remember, if you do this, you’ll want to make a small hole in the lid to allow the heat to escape. As a simpler alternative, you could also use a small torch, LED lights or battery-operated votive candles.
Now that your decorations are all ready, get ready for some Halloween fun!
Looking for some brilliantly spooky Halloween gifts for kids? Check out what’s popular on our website!
Why was the jack-o-lantern afraid? It had no guts!